Installation
Install Enova in four steps — upload enova.zip in Ghost Admin, activate it, and add the routes.yaml file that powers the newsletter archive.
Quick start
Four short steps and your new theme is live.
Check Compatibility First
Before installing, make sure your Ghost installation is Ghost 6.x — Enova's minimum requirement is v6.0.0, and we recommend v6.27.0 or later so the native share button on posts works. See the Compatibility Guide.
Open Theme Settings
Go to Settings → Theme in Ghost Admin and click "Change theme".
Upload the zip
Click "Upload theme" and select enova.zip.
Activate
Click "Activate" when the upload finishes.
Upload the routes file (for the Newsletter Archive)
If you plan to use Enova's Newsletter Archive at /newsletters/, upload the bundled routes.yaml once. Skip this step if you're not using the archive — the rest of the theme works without it.
You have two ways to get the file:
-
Grab it from the theme zip —
routes.yamllives at the top level ofenova.zip. Extract the archive and pick it up from there. -
Download or copy it from here — same file, no extraction needed:
Downloadroutes.yamlroutes.yaml routes: collections: /: permalink: /{slug}/ template: index filter: 'tag:-newsletter' /newsletters/: permalink: /{slug}/ template: newsletter-archive filter: 'tag:newsletter' data: page.newsletters taxonomies: tag: /tag/{slug}/ author: /author/{slug}/
In Ghost Admin, go to Settings → Labs → Beta features → Upload routes file and choose the routes.yaml you just saved.
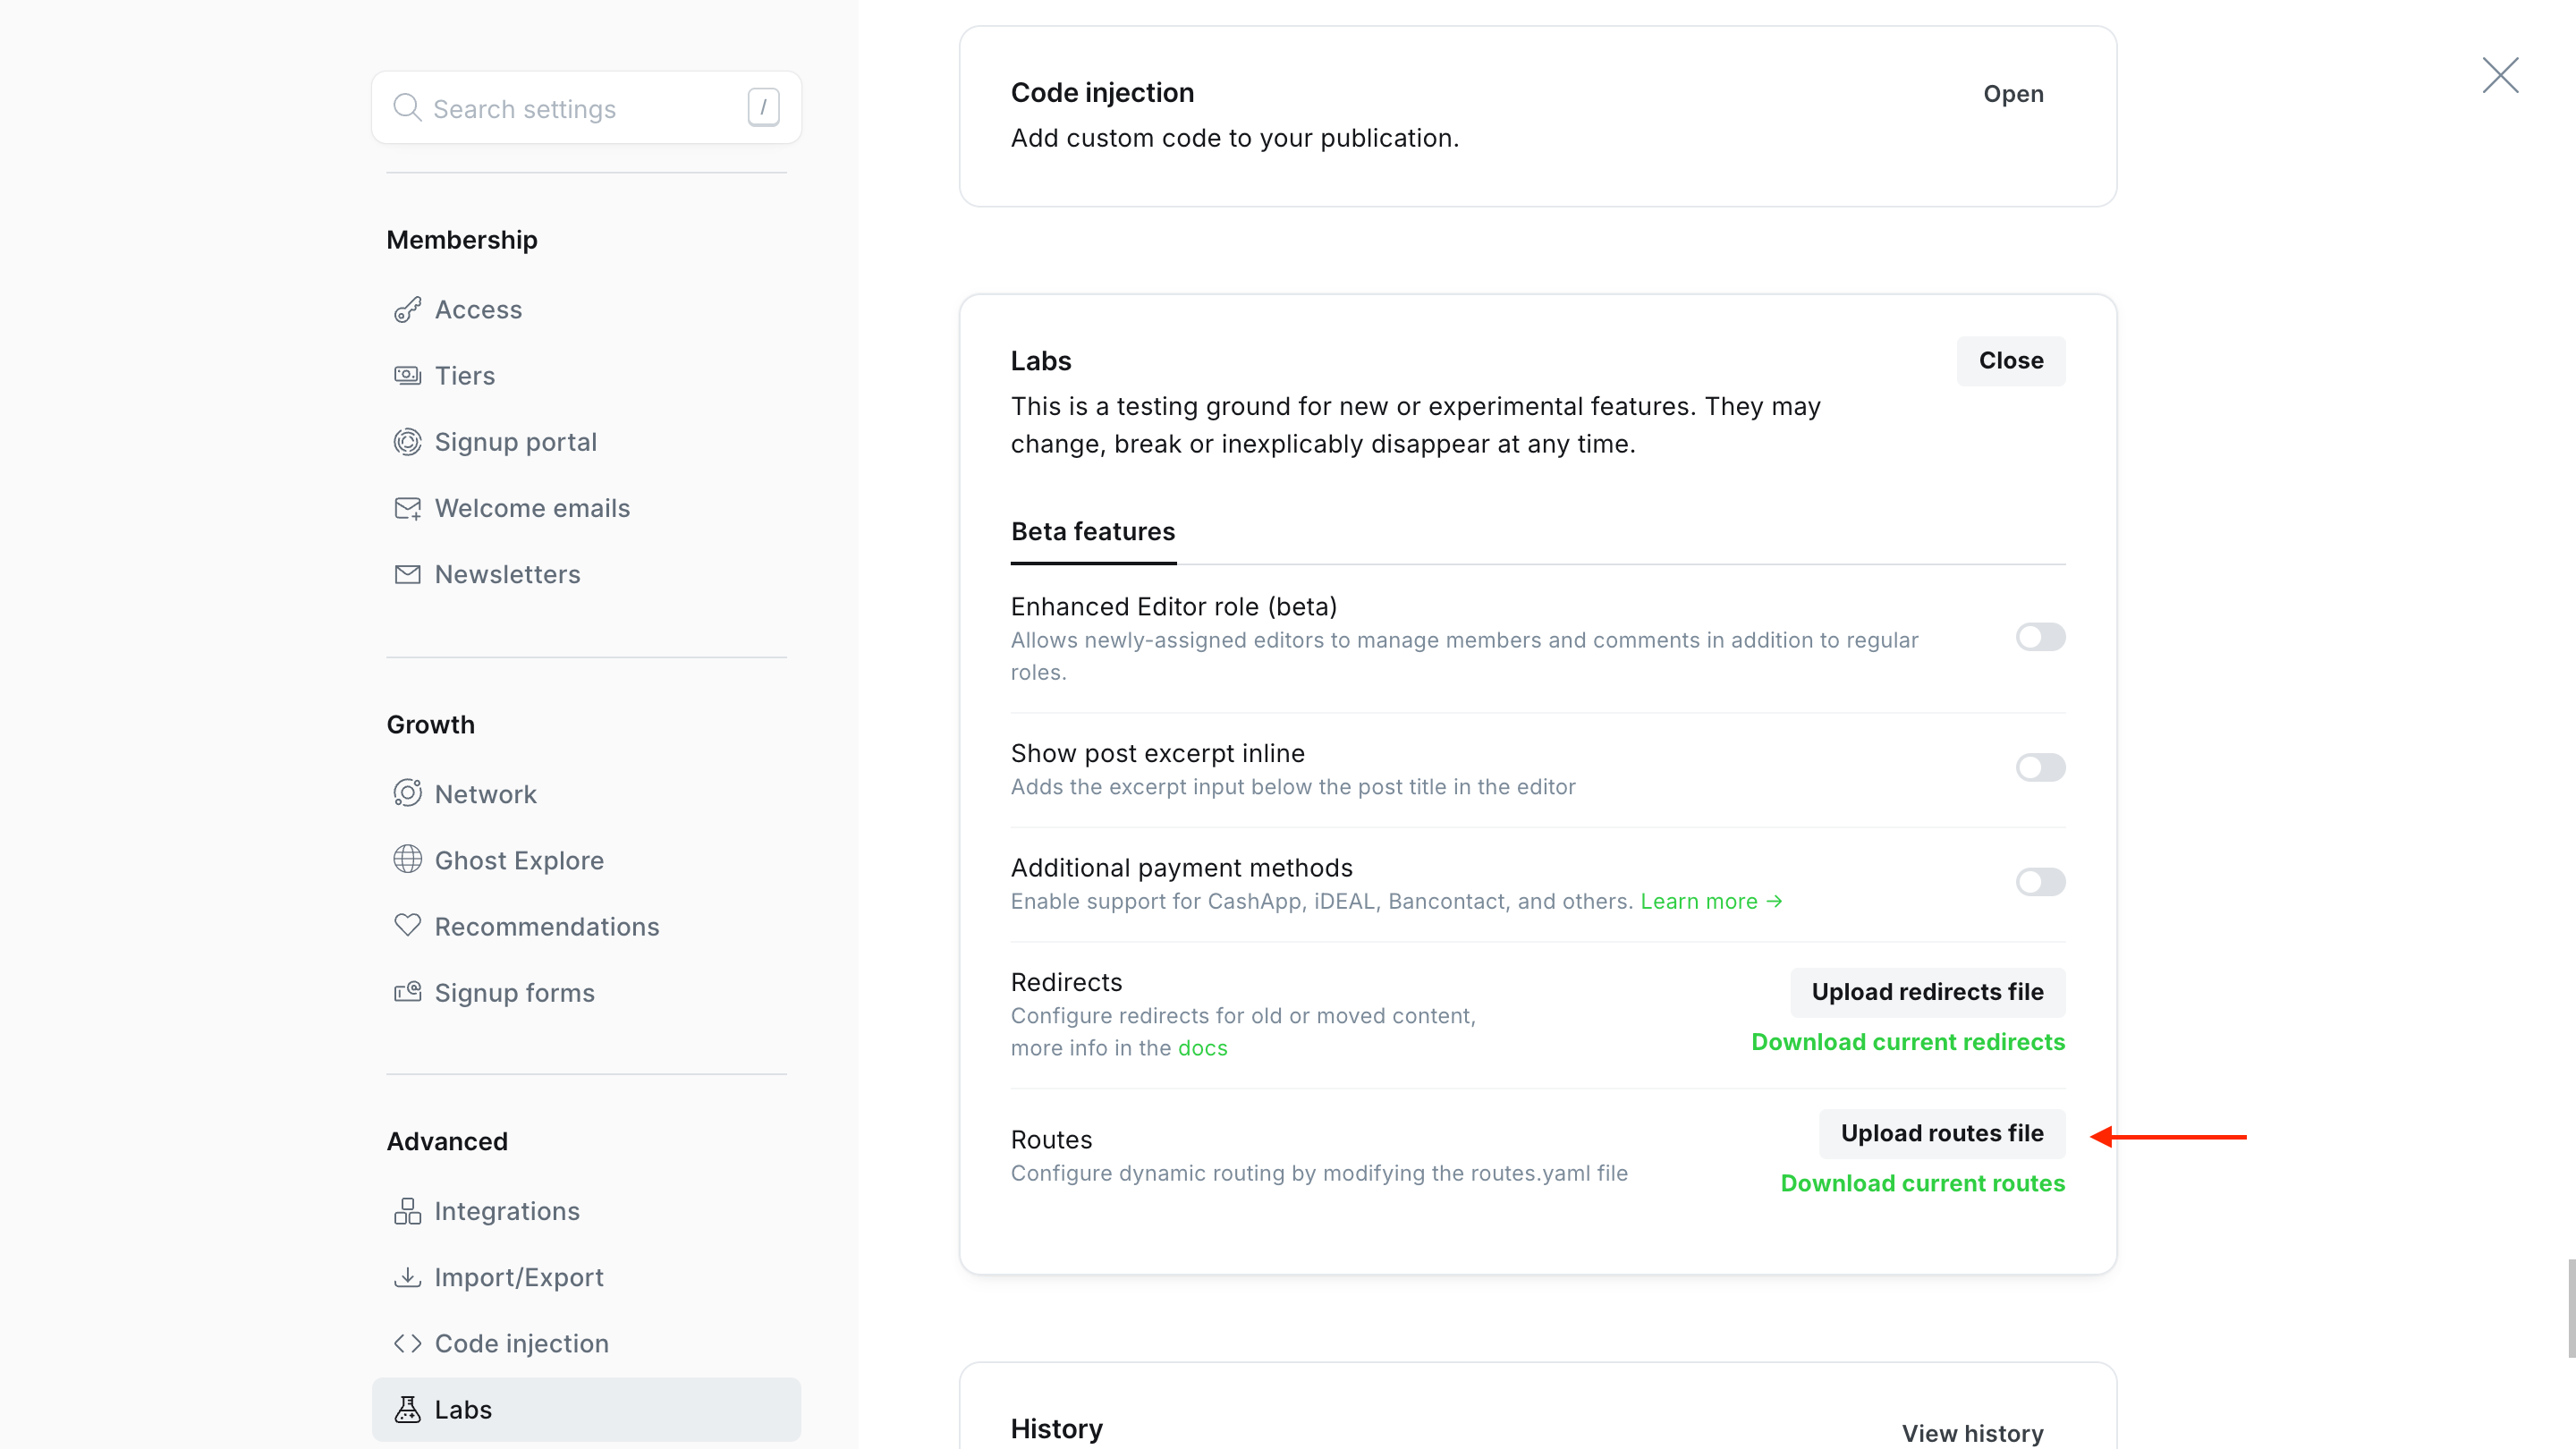
Skip this step and /newsletters/ returns a 404. You only need to do it once per install — re-upload only if the file changes between releases.
See the Newsletter Archive guide for the rest of the setup (tag posts, create the newsletters Page, choose a layout).